Wasteland/Frontier Town Planking Bases (Basing)
If you have any questions / comments, please feel free to post on the forum thread for this tutorial.
Wasteland/Frontier Town Bases.
This is a more dusty looking scheme, and makes use of the natural texture of the balsa wood to get some super fast, realistic detailing that you can't get with a brush.
*Important* Given that we're about to use the natural texture of the wood make sure not to overload it with paint in the priming and basecoating stage, a couple of thin coats is best!
Paints/Equipment
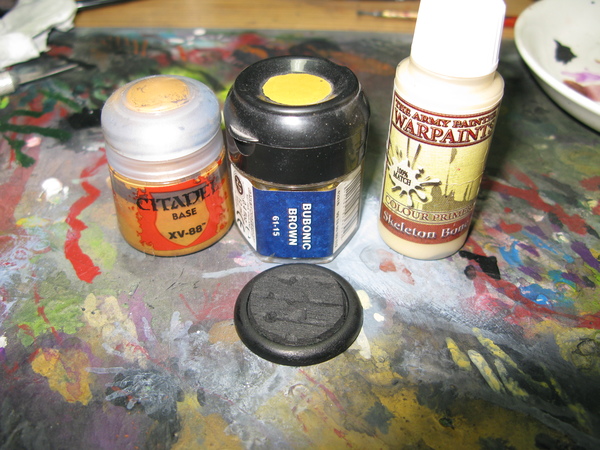 The Army Painter 'Base Primer - Matt Black'
Swamp Tuft
The Army Painter 'Base Primer - Matt Black'
Swamp Tuft (Or a tuft/flock of your choice, I chose this for contrast)
The Army Painter 'Base Primer - Anti-Shine, Matt Varnish'
XV-88 (Snakebite Leather or
Balor Brown will do though)
Bubonic Brown
Zamesi Desert
Skeleton Bone (Bleached Bone or
Ushabti Bone will do)
Large Drybrush or
Vehicle/Terrain Brush
Small Drybrush
And Finally, but very importantly:
Terracotta Earth Pigment
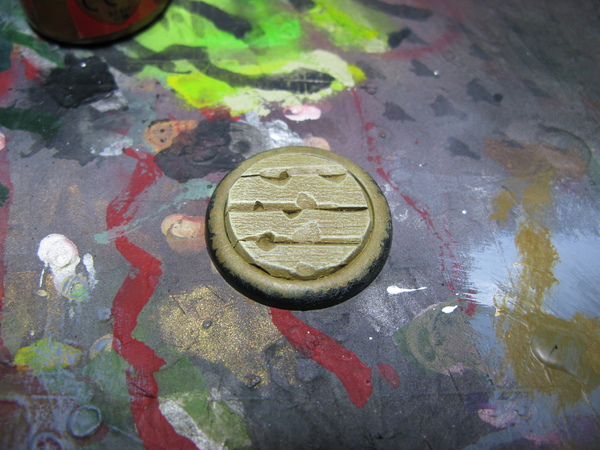
Step 1: Undercoat and prime your base (see first 2 steps in top tutorial) Matt Varnish, allowed to dry, followed by matt black, keep the coats light.
Step 2: 'Stipple' Basecoat, using a large drybrush/vehicle brush, and thinned XV-88 stipple your basecoat on, in thin layers. The reason for this is it avoids paint collecting in recesses and clogging details, it's a great way to basecoat by hand in general, and especially in this case in order to preserve detail.
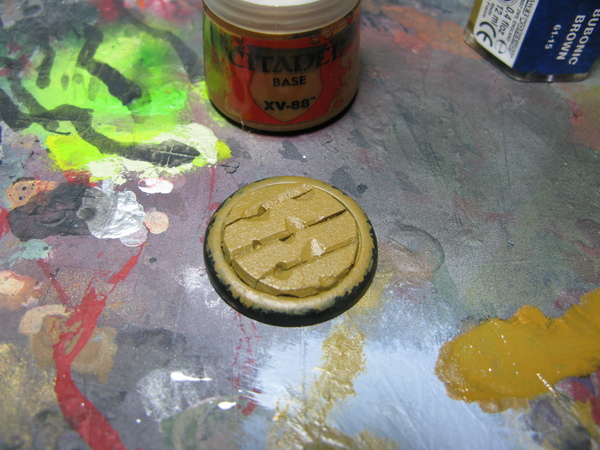 Step 3:'Stipple'
 Basecoat it'll probably take 2/3 layers over black, we're not looking to preserve black in recesses here, as they'll get filled with pigments later anyway.
A few thin coats should give nice coverage, without obscuring detail, if you're doing a few bases at once this paint will dry fast anyway, as all base paints tend to.
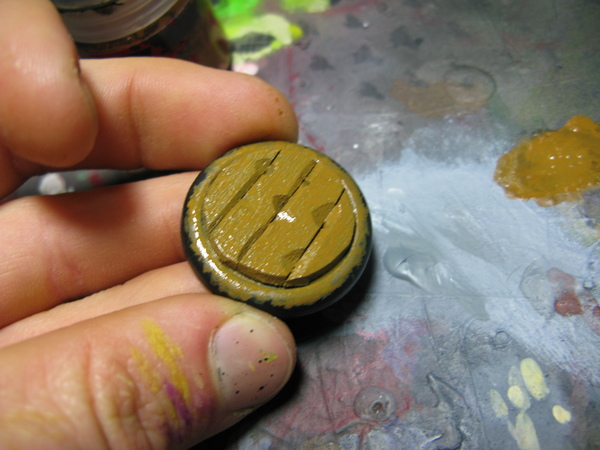
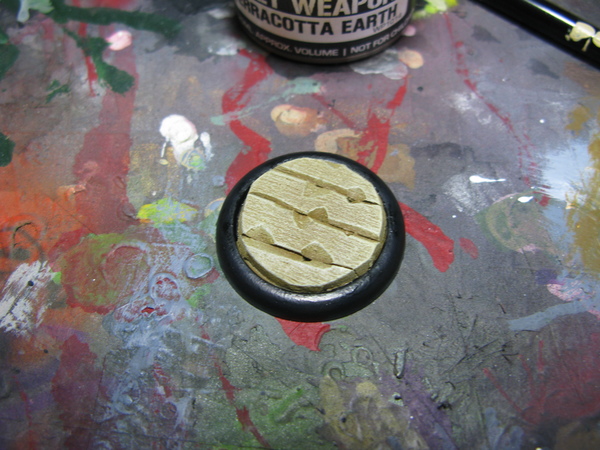
Step 4: Medium Drybrush Bubonic Brown
 Step 5: Light Drybrush
 Skeleton Bone **Ensure it is 100%dry before applying pigments in 2 steps**
 Step 6:
 Paint your base rims (can be left until last)
 Step 7:
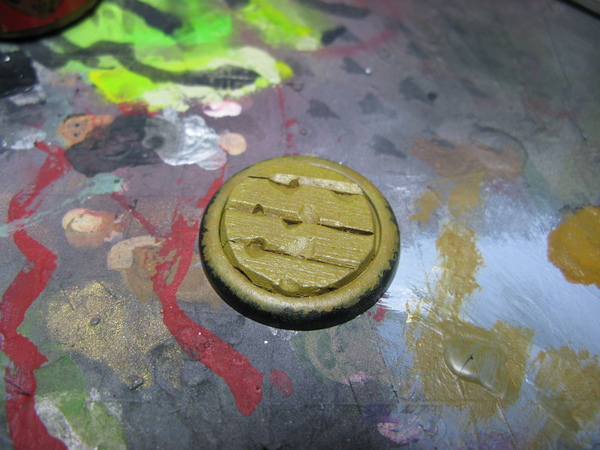
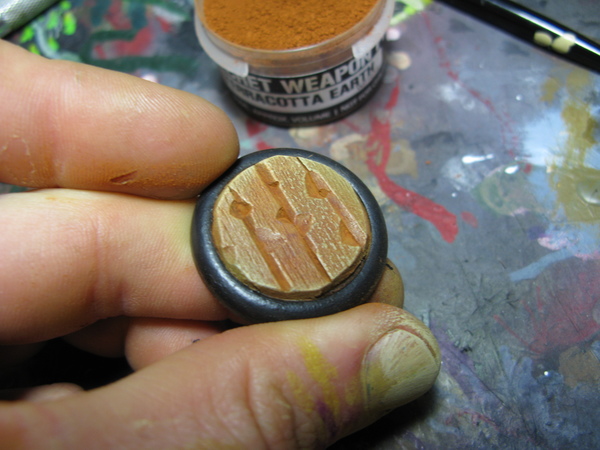
 'Scoop' your pigments on with a brush (make sure it's completely dry), and 'push' them into the base, add as much or as little as you like.
Here comes the lazy magic
Lick/dampen a finger, then wipe off most of the wetness so it's just slightly damp, and then wipe it along the planks (lengthways), this will wipe up all of the pigments from the raised areas. This is far faster, far easier, and will produce a far more delicate job than drybrushing, or anything that anyone but a golden daemon winner could do with a brush.
It also looks fairly realistic, you'll get a well-trodden look to the wood, as the planking would have been worn where it was raised by feet, dust only remaining untouched in depressions.
The left hand side hasn't been wiped yet, right hand side has.
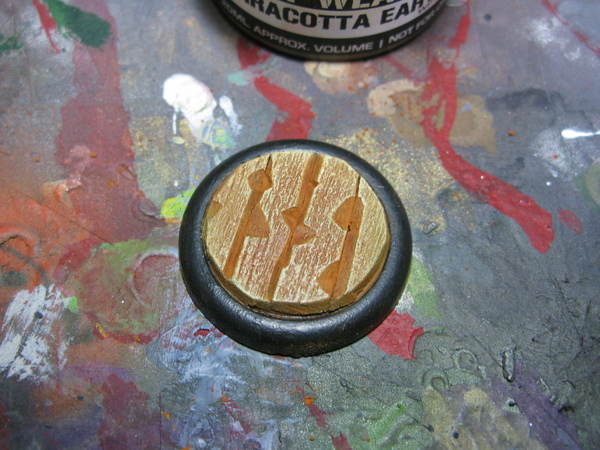
 Step 8:
 Re-apply black to base rims - due to messy pigments I had to go in again, best to leave this until last I guess!
 Step 9:
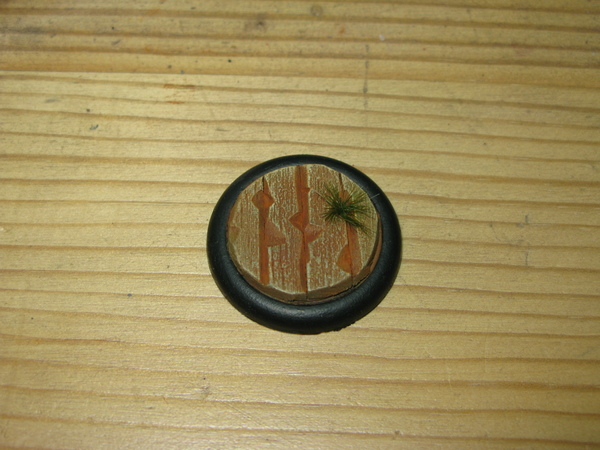
 Tufts of your choice. I chose swamp, which is probably a little fertile and alive looking if you're going for realism, it does stand out nicely though, and is my favourite tuft.
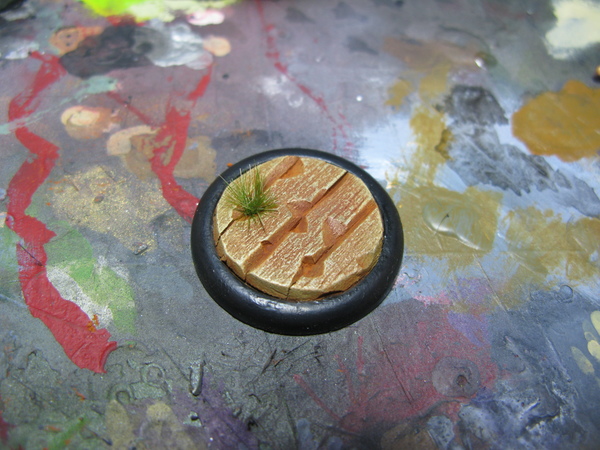
Apologies for the photo, pigments give my camera issues!
What our customers are saying...
Sign up for our newsletter - for the latest news and promotions