Basing: Start to Finish + making your own reeds.
If you have any questions / comments, please feel free to post on the forum thread for this tutorial.
As it says on the tin this will be a start to finish tutorial about how to make a base start to finish.
However I'll try and make it a universally applicable recipe, this could easily be done in any colour scheme you choose, in time I will make a post with nothing but pictures of various basing schemes but until then this will have to do!
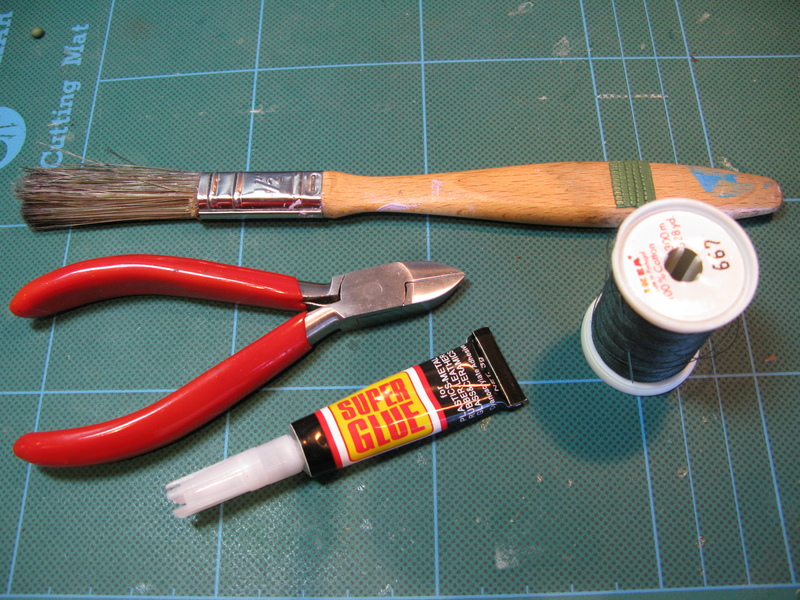
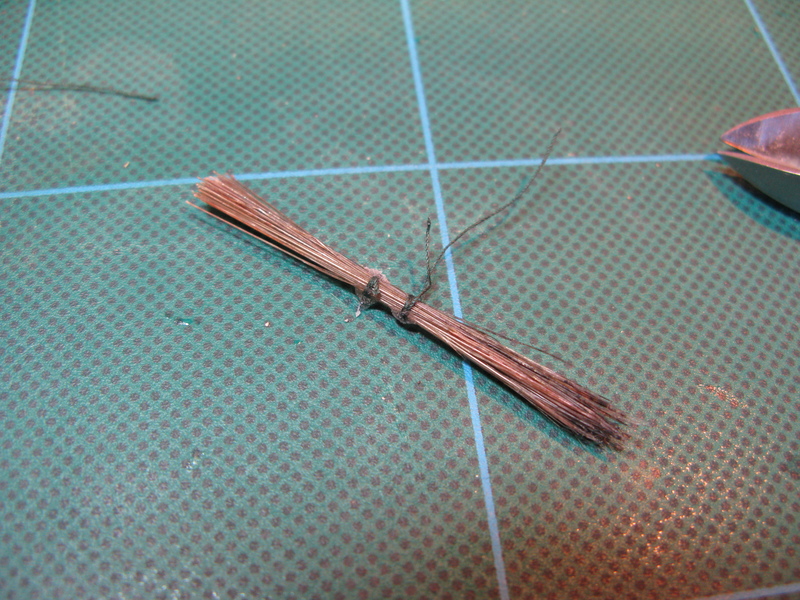
Firstly this is how I've been making reeds for the past few years (still using the same 1/2 inch horse-hair brush)
Equipment!
 Step #1
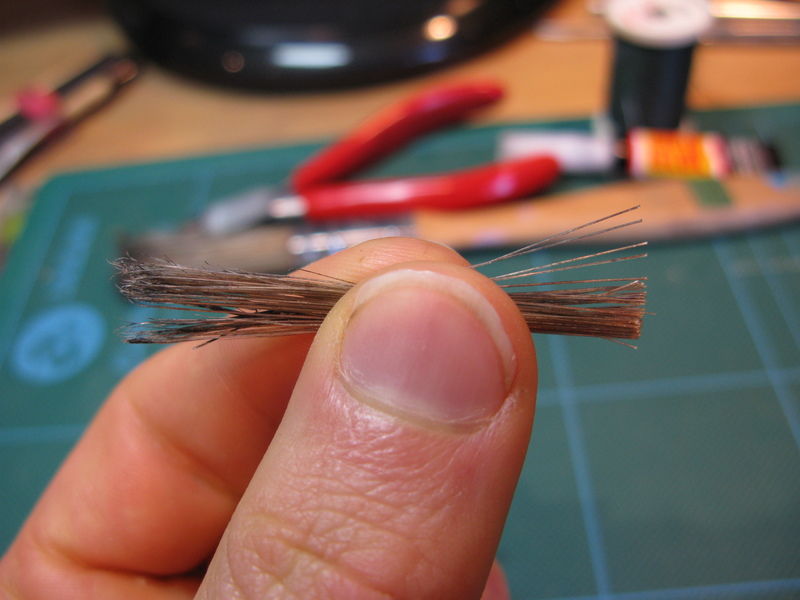
 Clip off a small bunch of hairs
 Step #2
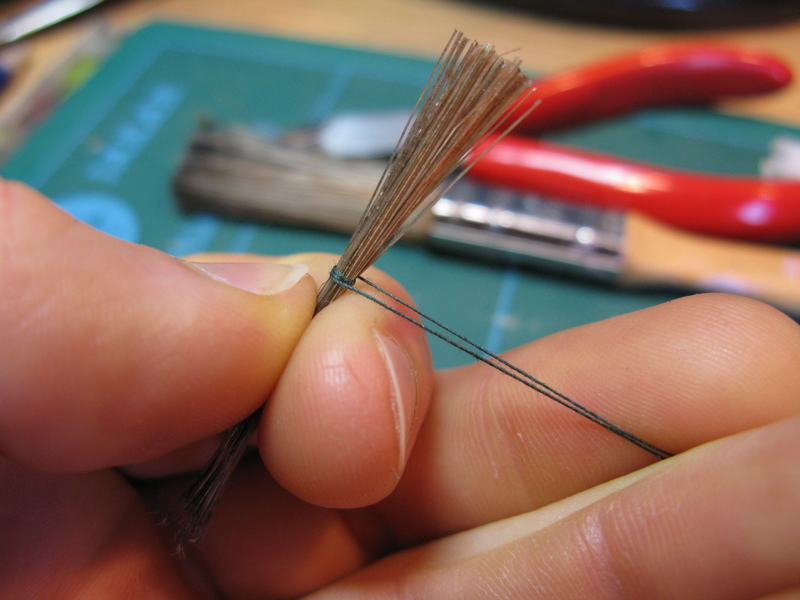
Take your thread and wrap it round, where depends on how long you want your reeds, I'm making 2 of similar heights so chose just left and right of centre.
 Step #3
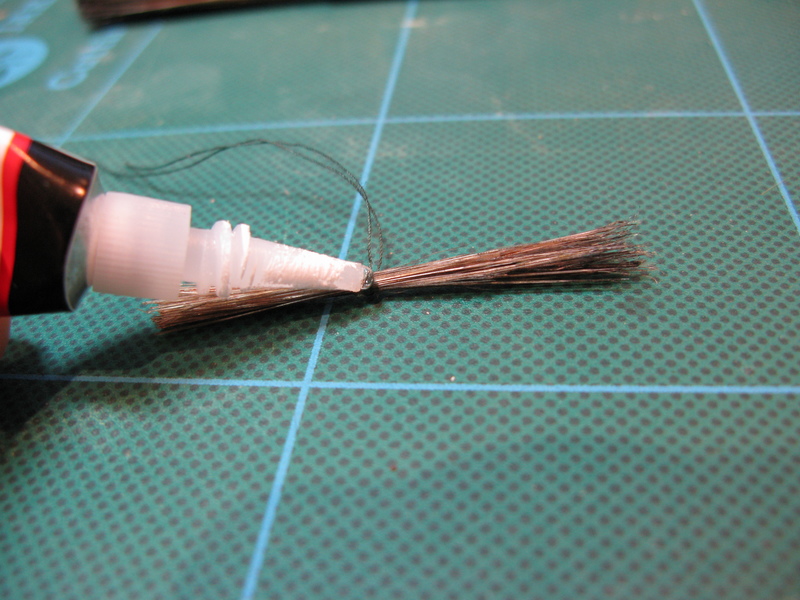
 Take some really thin cheap superglue and put a dot of it on the thread.
 Step #4
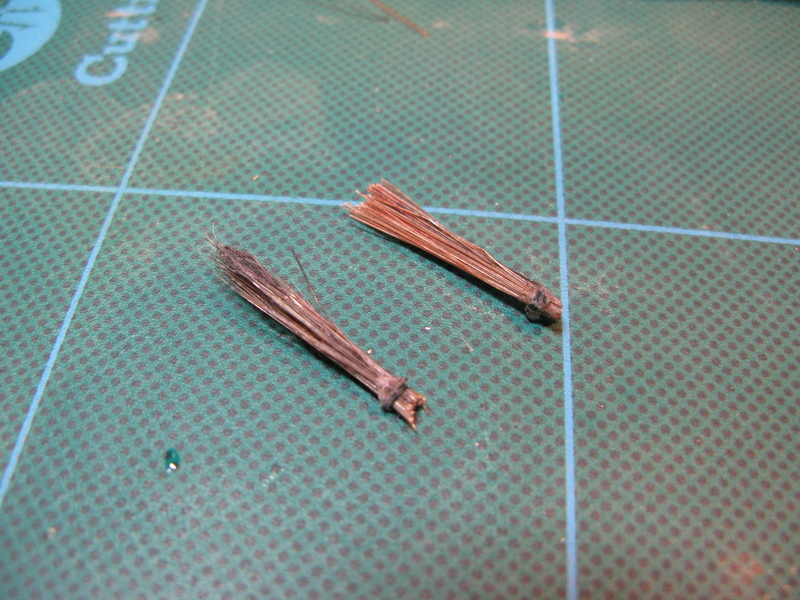
 Repeat the previous step leaving enough room between the 2 threads to cut, if you're just making one long clump of reeds don't worry about it.
 Step #5
 Snip them in half, done! (For now....)
 Making The Base
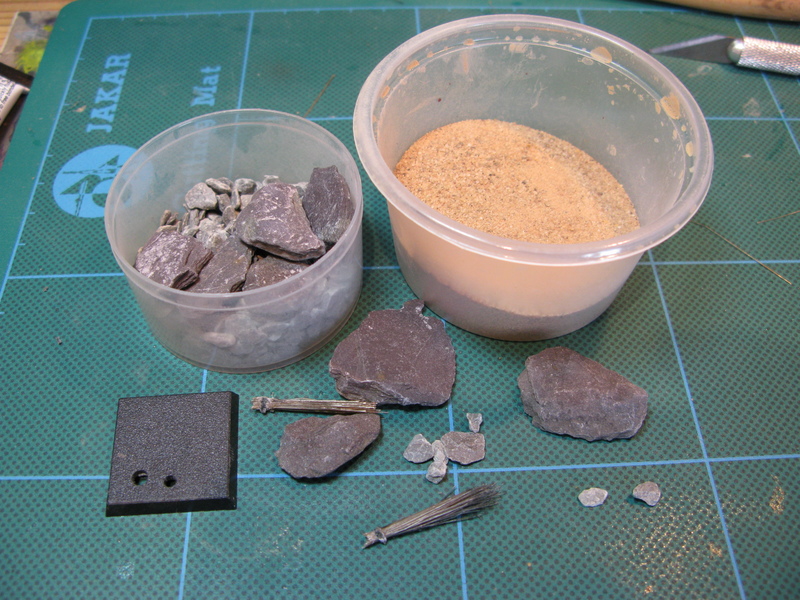
You will need
Making The Base
You will need
 Step #6
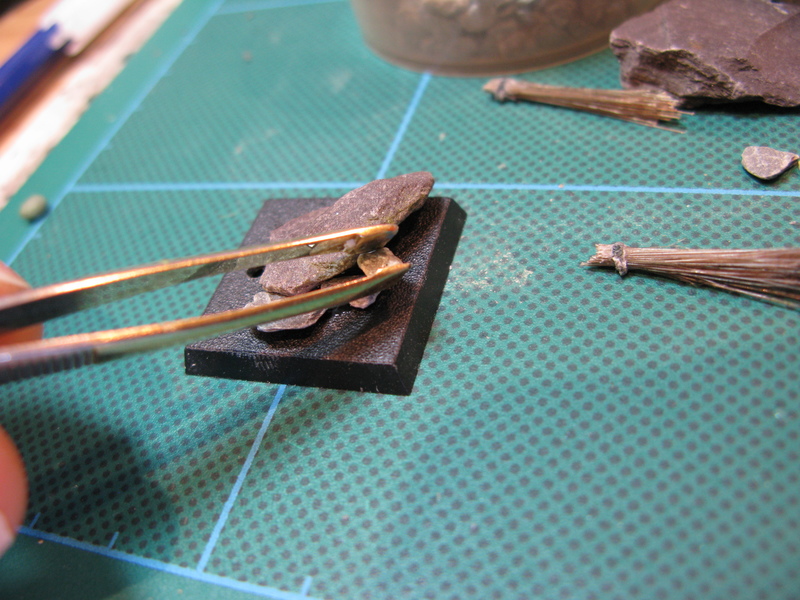
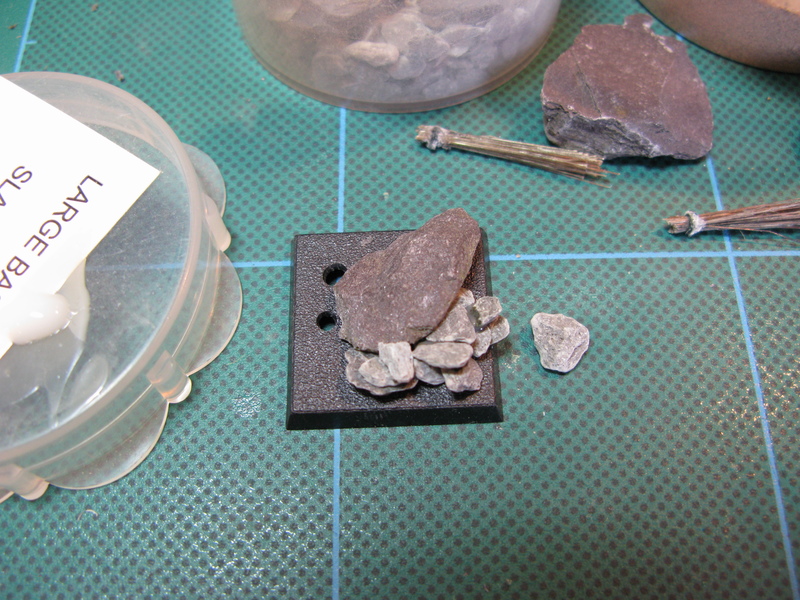
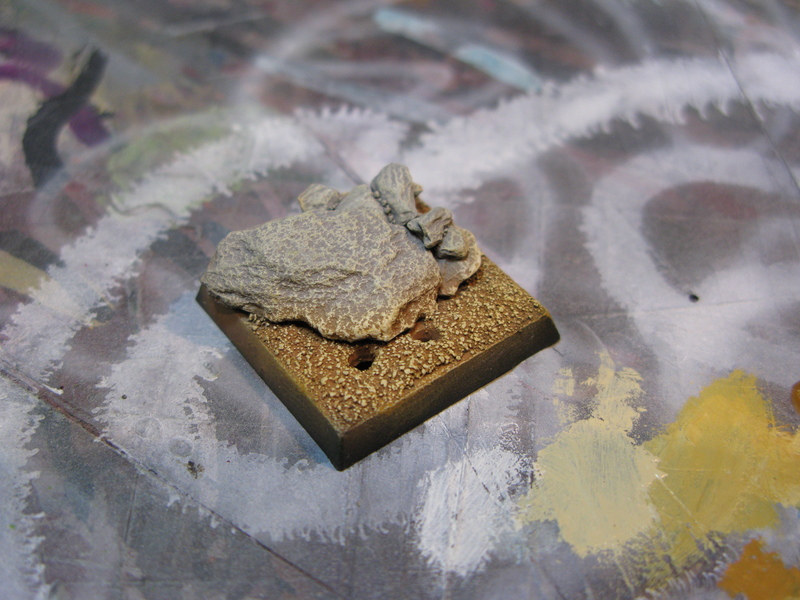
 Stones are put on in reverse size order, big to small, sand last, if you're impatient stick the big one on a blob of greenstuff/putty with superglue, otherwise use PVA, tweezers will make this easier if you have sausage fingers like me, I pick a stone, dip it in pva then place it.
 Step #7
 After some google image research: 'rocks', moving on to the ever so advanced 'slate' I placed them like this, trying to make it look natural.
 Step #8
 Glue for the sand now, don't water it down, as it will seep through the sand and make it look like mud.
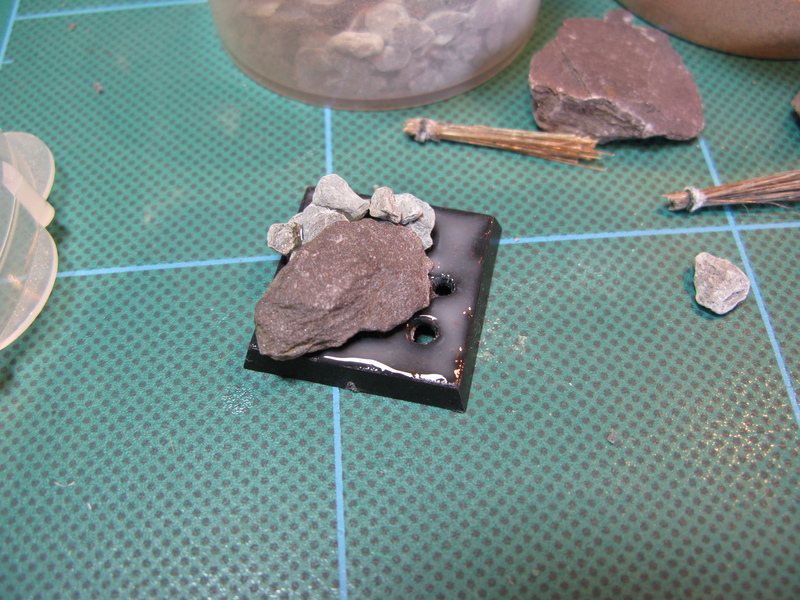 Step #9
 Sit it in your sand, I leave it there for a couple of minutes, this way any PVA that soaks through has sand sticking to it, avoiding muddyness.
 Step #10
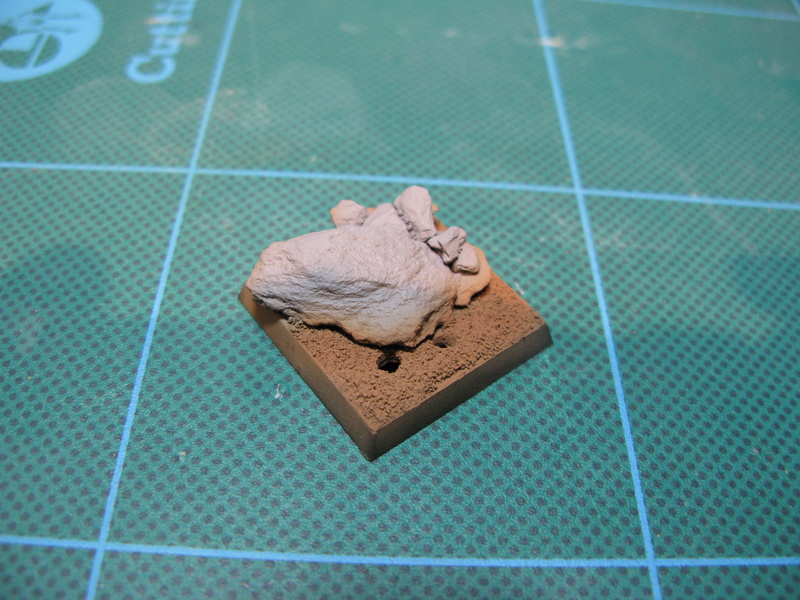
 Looks like this, I run a wetted finger round the edge to clean up any dust/stray fluffy bits.
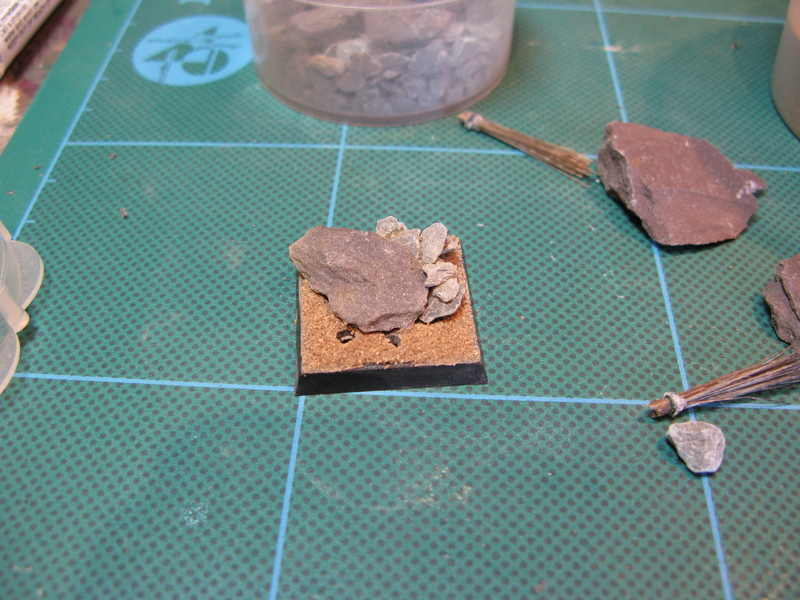 Step #11
 This step isn't 100% necessary but I'm a big fan, spray purity seal, or any varnish-like product on, this will stop your sand from falling off at a later date.
 Painting
Step #12
Painting
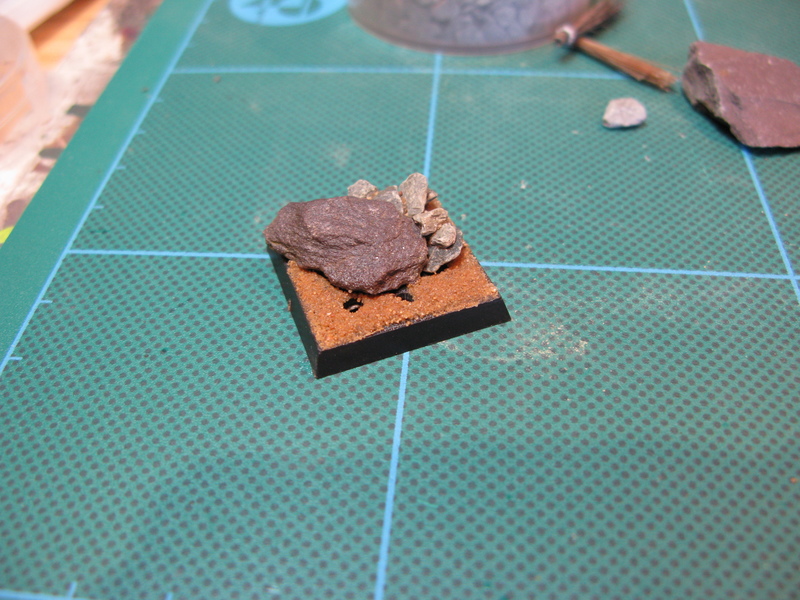
Step #12 Chaos Black Spray, any primer would do, I always choose a spray if possible as it protects better.
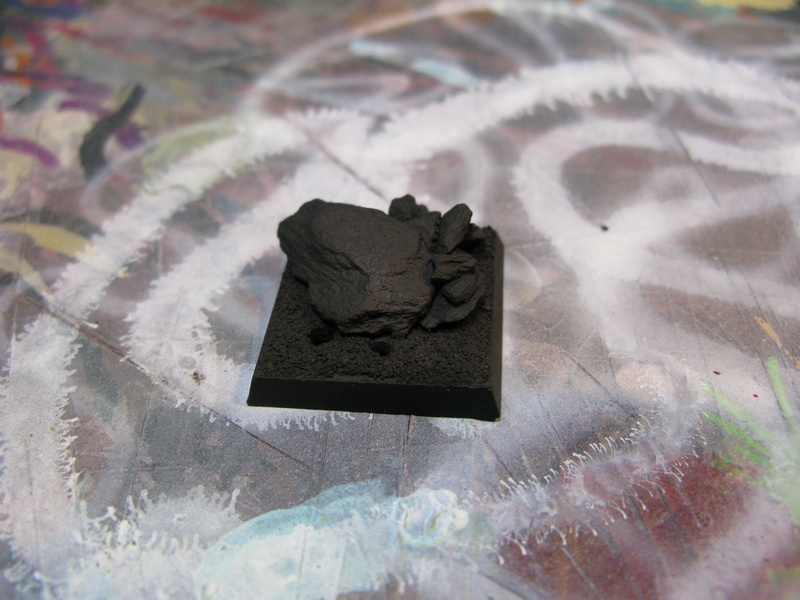 Step #13
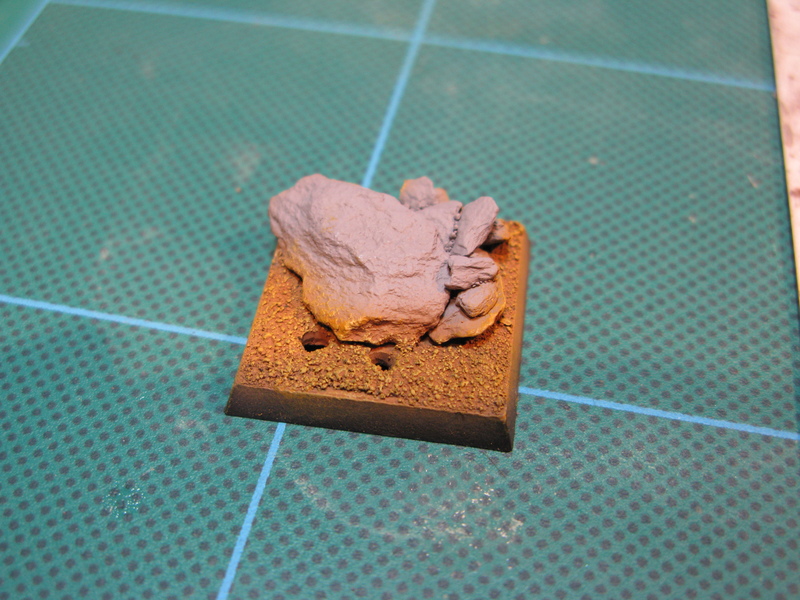
 Painting the rock first, then the ground, not worrying too uch about neatness codex grey and calthan brown.
 Step #14
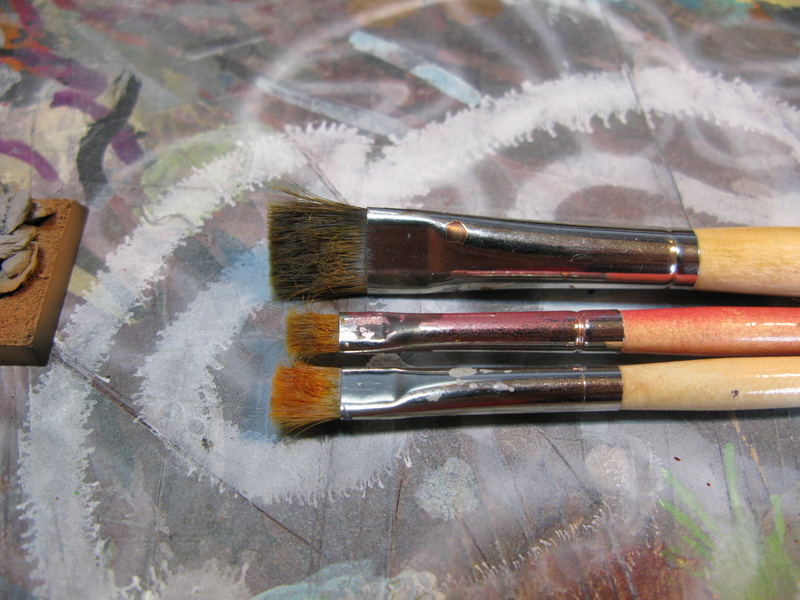
 Out come the drybrushes! Here're the ones I use, I'd always recommend a flat brush for this type of work if possible.
 Step #15
 Bleached Bone/ Snakebite leather together on the pallet, pull more bleached bone in as necessary for each drybrush layer, lighter coats as the colours get lighter, wiping off excess paint.
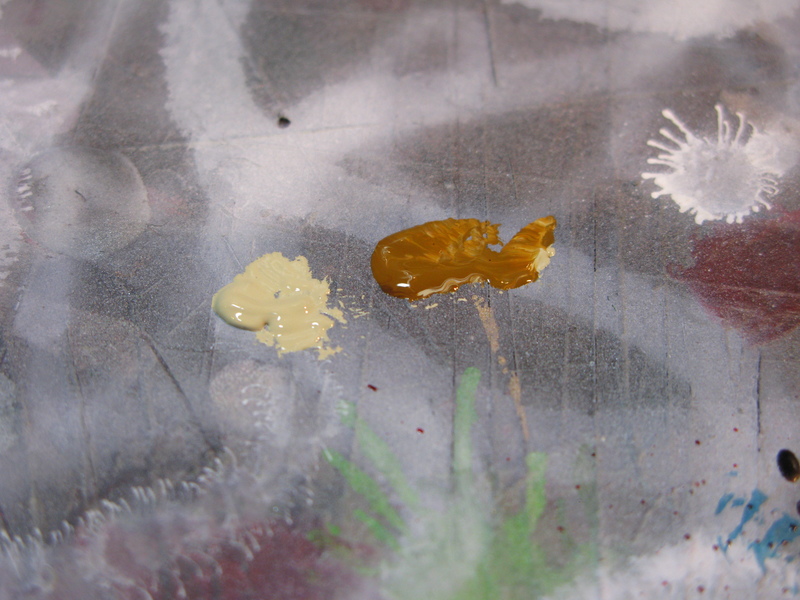
Yummy.
 Step #16
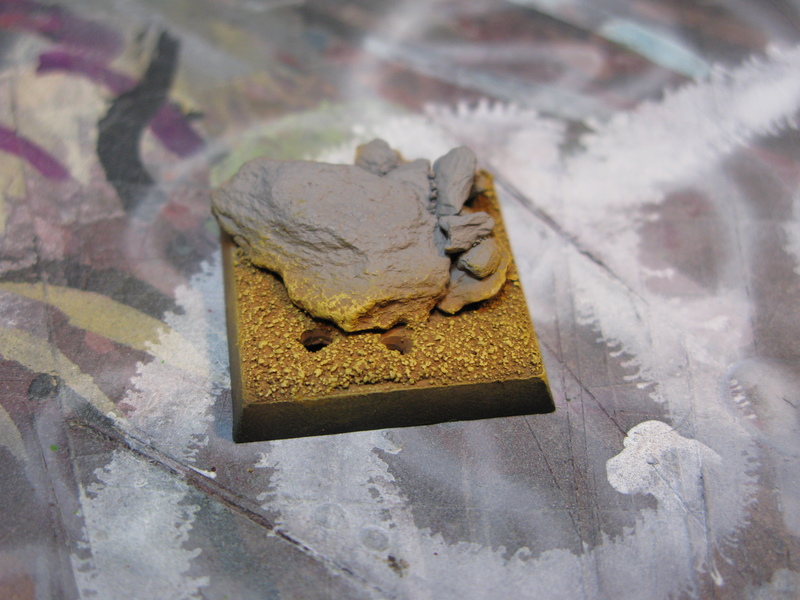
 First drybrushing layer, about 50/50
 Step #17
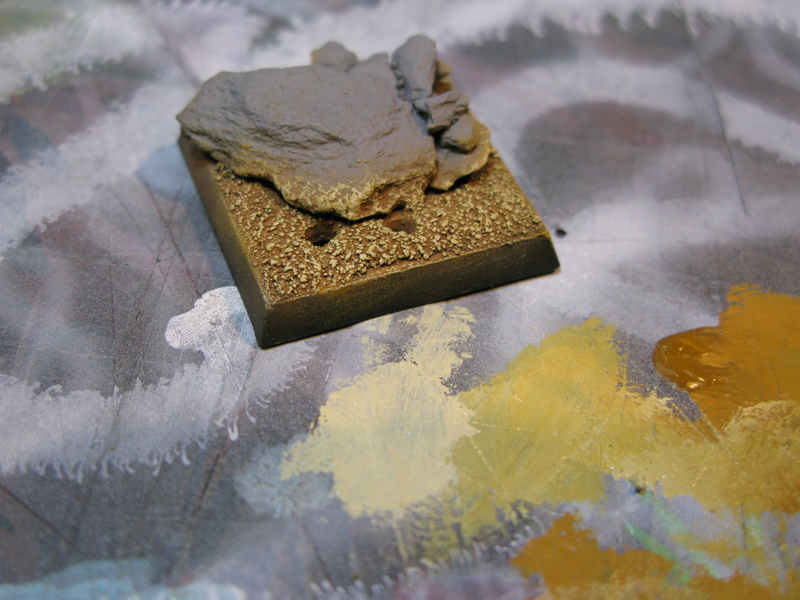
 Second drybrushing layer, adding in more bleached bone, wiping more paint from the brush before drybrushing the base.
 Step #18
 Pure bleached bone for the final highlight on the earth. (Apologies for the background change in pictures, green was throwing off colour balance)
 Step #19
 Codex Grey + Skull white highlight on the rock
 Step #20
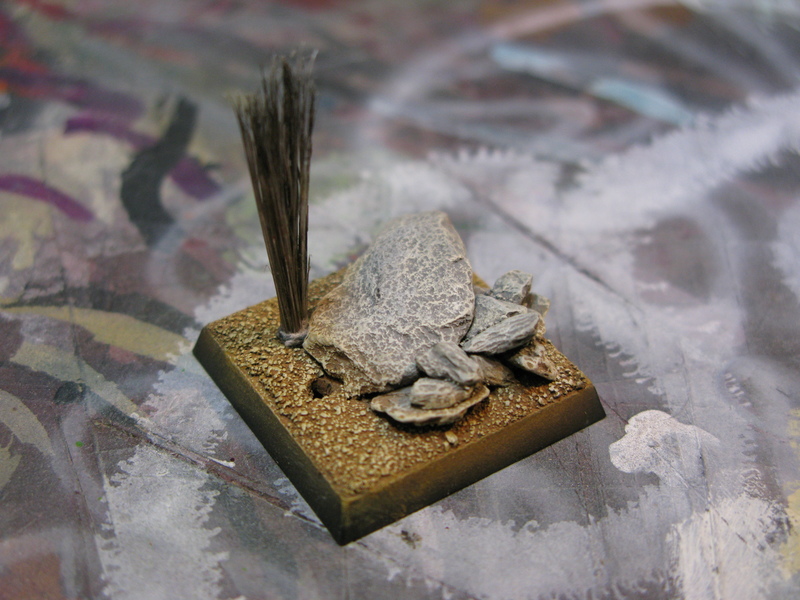
 Reed in, superglued.
 Step #21
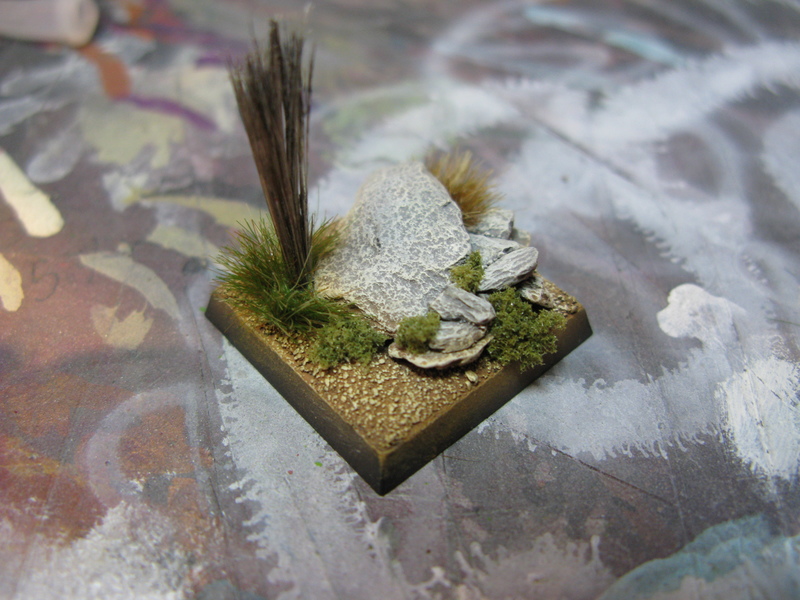
 2 types of tufts superglued on, and some clump foliage, keeping to gaps between rocks/slightly sheltered areas to try and make it look realistic.
 Step #22
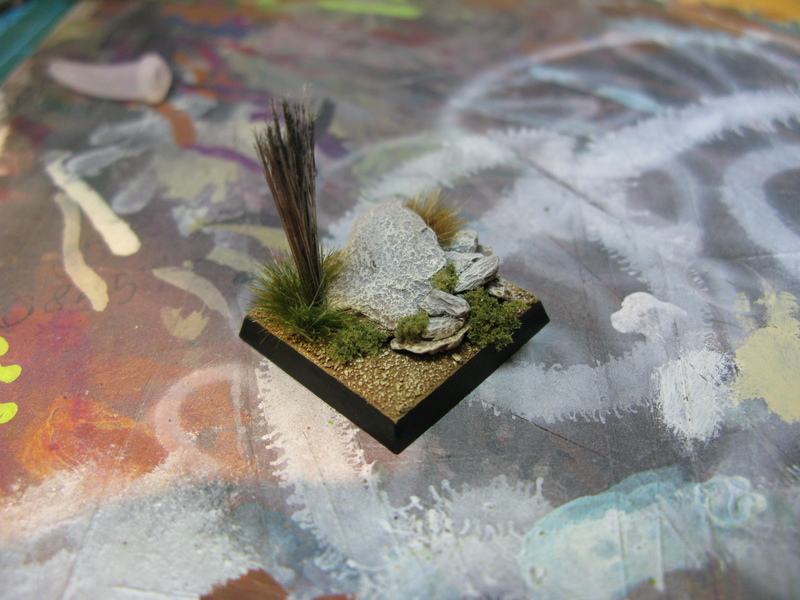
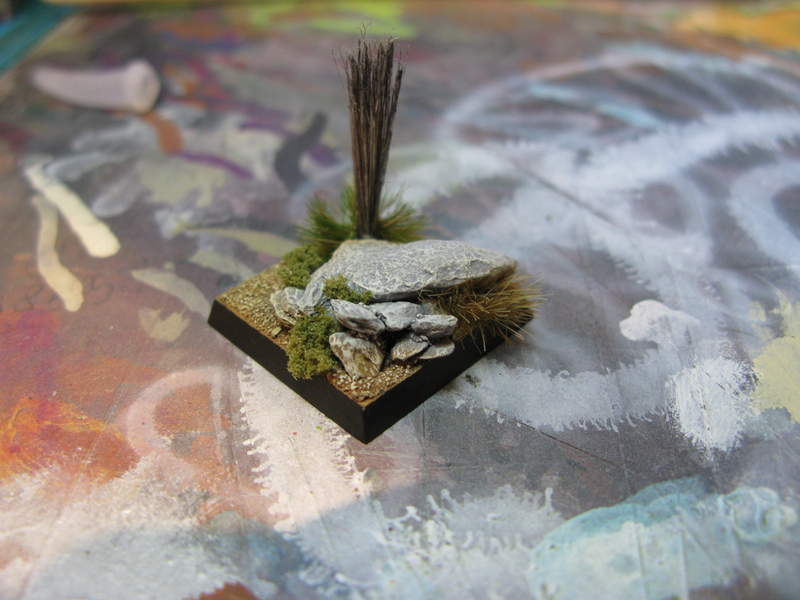
 Magic final step, carefully paint your edges in whatever colour you like, if in doubt I like black

, Done!
Finished shots:

Feel free to post your examples/takes on the technique below, or any questions, comments, or criticisms.
Byron
What our customers are saying...
Sign up for our newsletter - for the latest news and promotions