Sculpting: How to Sculpt Chain Mail
If you have any questions / comments, please feel free to post on the forum thread for this tutorial.
So scale Mail has been covered, now for chain mail! This is an incredibly useful tool to have in your arsenal as it is great for filling in gaps, covering mistakes/rough bits in conversions. Personally when I was doing more converting I found that it came in most useful for making the transition from one piece from one model was being put onto another (e.g. swapping an entire arm, where the shoulder just won't match up etc).
Again this one is really more a matter of repetition and having the right tools available, quite nicely on this one the 'specialist equipment' is all stuff you can make yourself, and will cost you approximately nothing, bonus!
As ever all pictures are links to the gallery if you want to scroll through the there.
Equipment
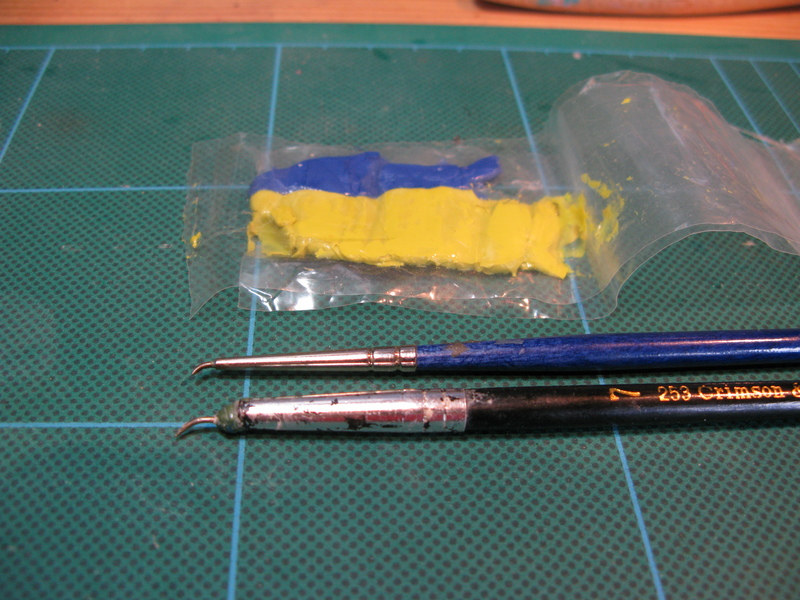
Sculpting tool, green stuff, possibly a Craft Knife later.
Before we start let's take a close look at those tools:
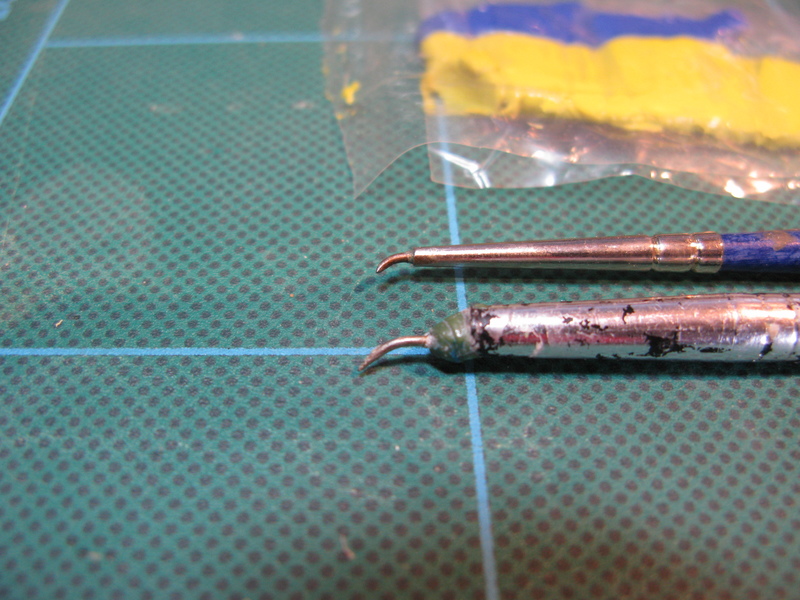
What we've got here are the two that I made for doing chain mail a couple of years ago, they've lasted well and cost me absolutely nothing, in both cases I've taken an old paint brush, drilled out the bristles, and inserted something appropriate.
-The first is my 'fine' tool, it's got a needle which I chopped the eye of and pushed in with some pliers, which has been bent to the angle required.
-The second slightly broader tool was made by doing the same with a paperclip, which I bent over and then filed and sanded to the right shape.
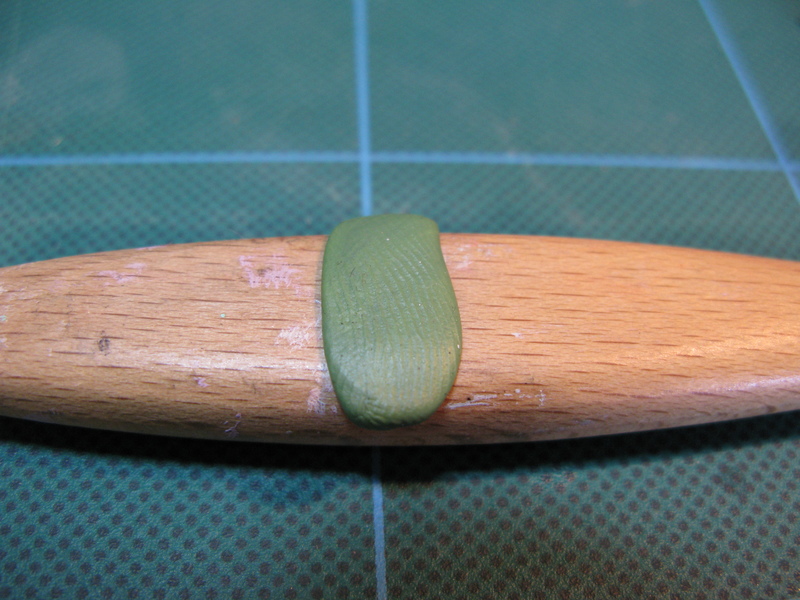
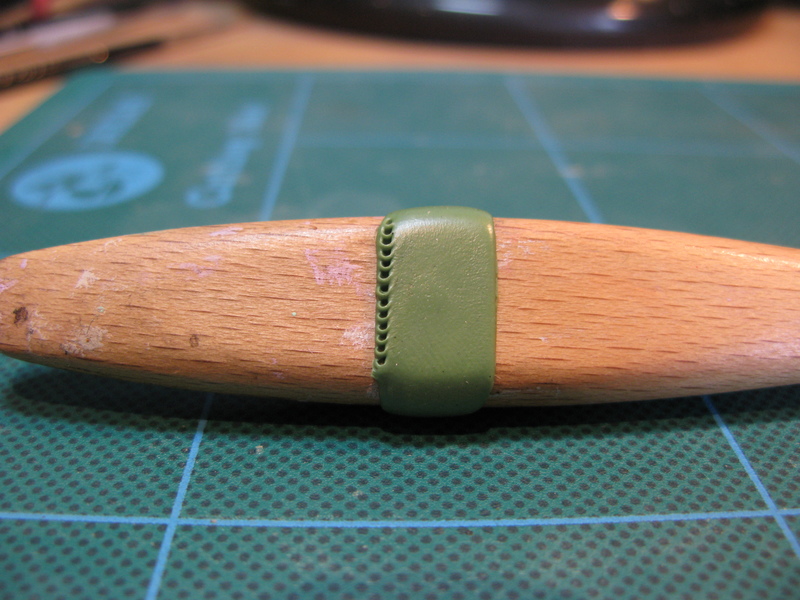
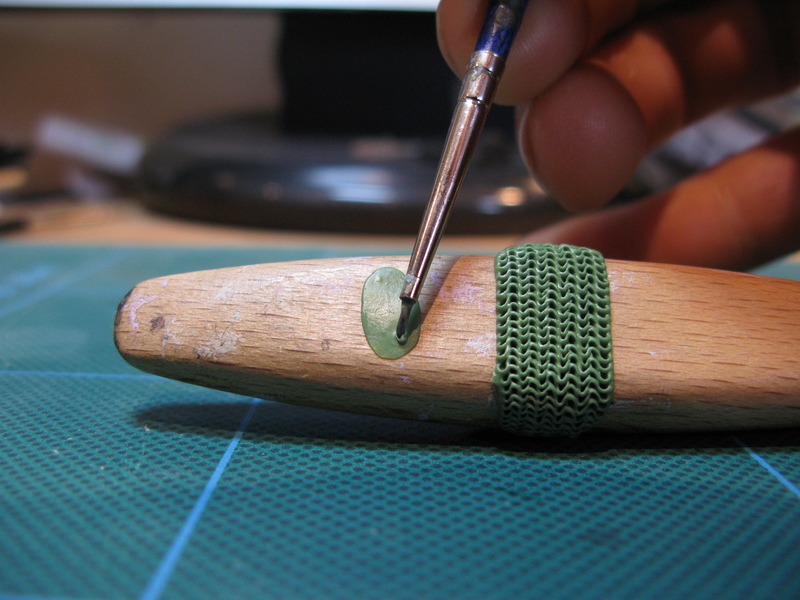
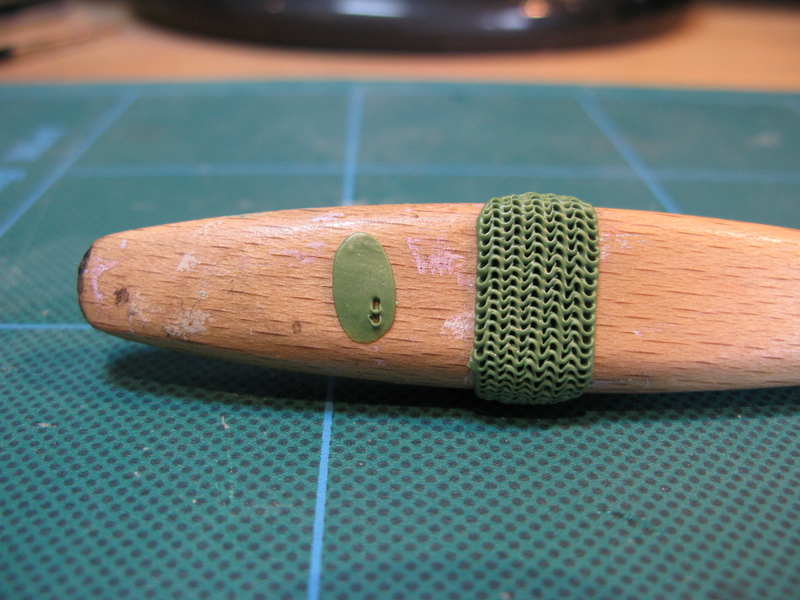
Step#1 Press your Green stuff onto the area you need, I just used a finger here, get it to approximately the thickness needed.
 Step#2
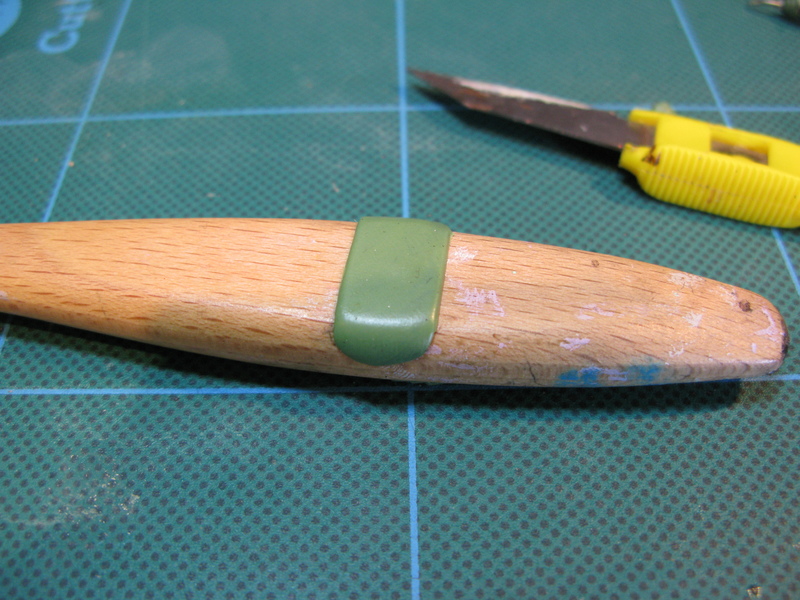
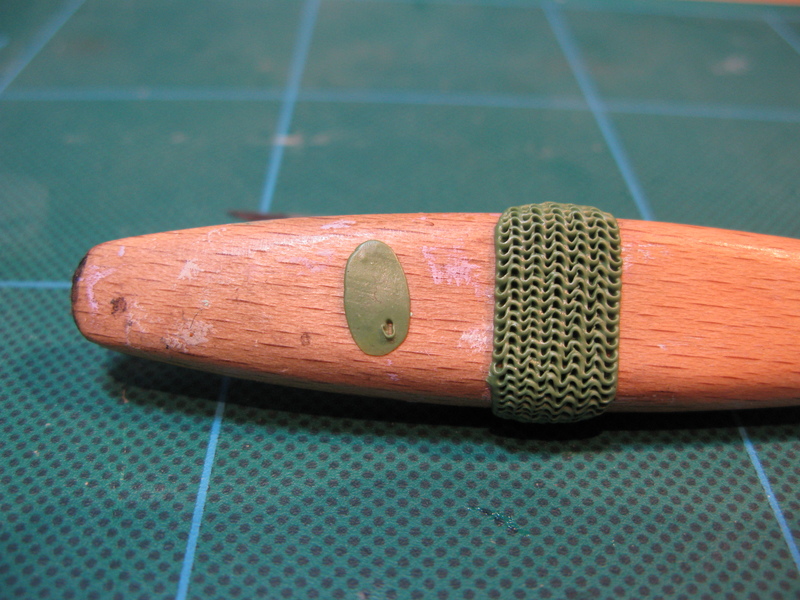
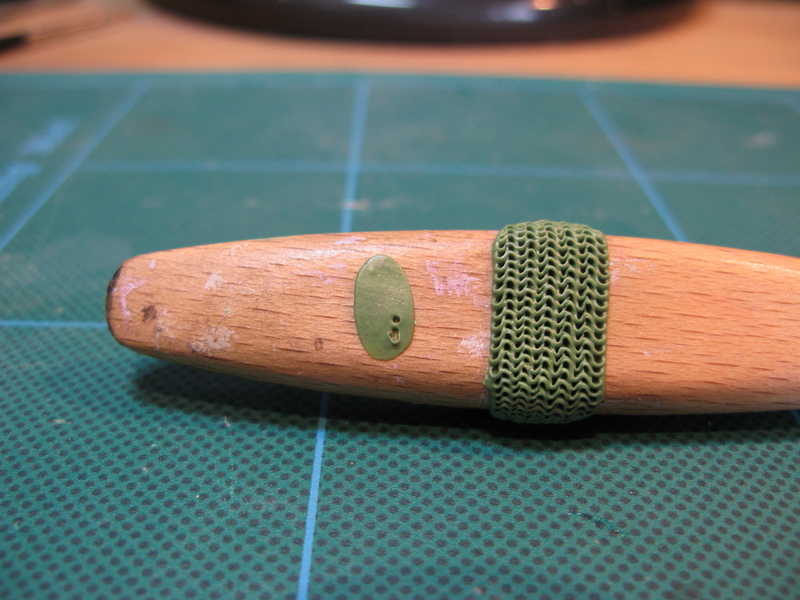
 Roll or smear it flat, the aim is to have it a consistent thickness over the area in question, I used a wetted finger. Trim edges if needed.
 Step#3
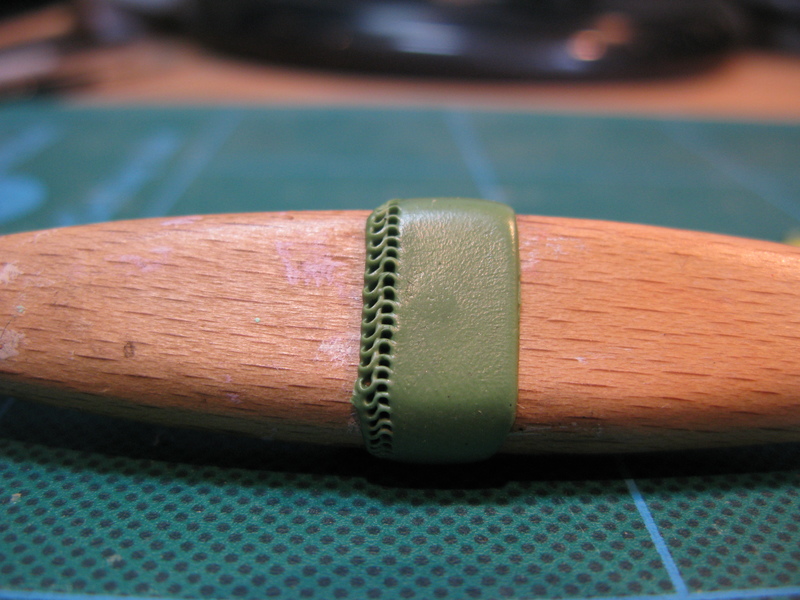
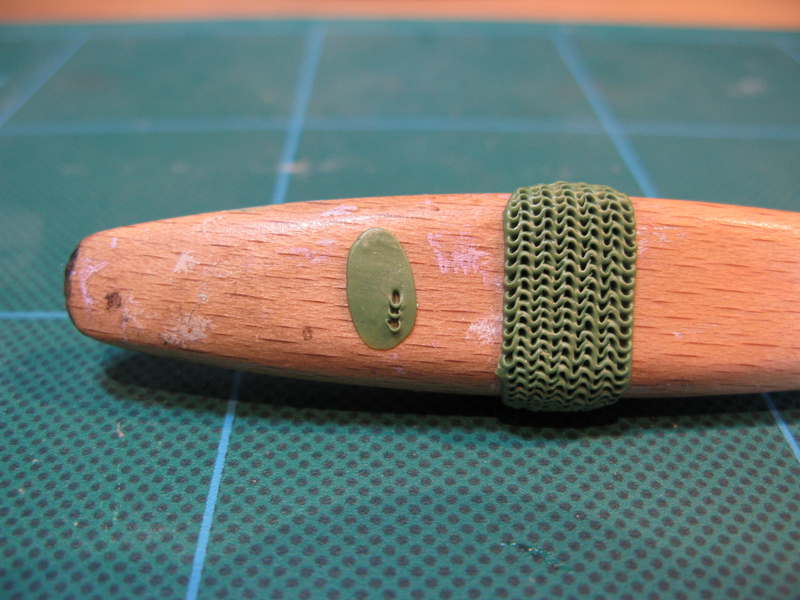
 Take your tool, press it into the GS and then 'push' the hole made in one direction (a mini step by step for this is at the end of the tutorial), move next to it and repeat, and repeat. **Note you need to make sure your prodder doesn't stick, either dip it in water or use vaseline/moisturiser/olive oil or anything greasy.
 Step#4
 Starting from the other end do this in the opposite direction, working backwards 'pushing' each link into the previous one.
 Step#5
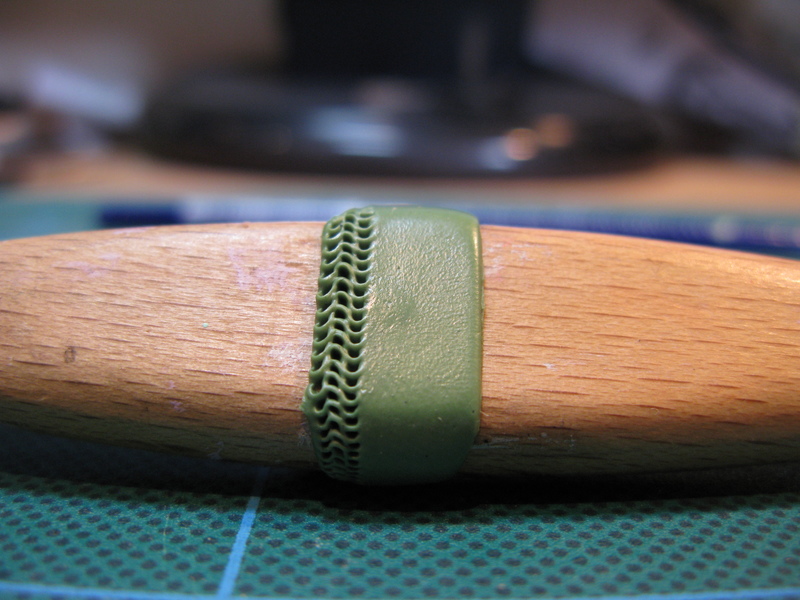
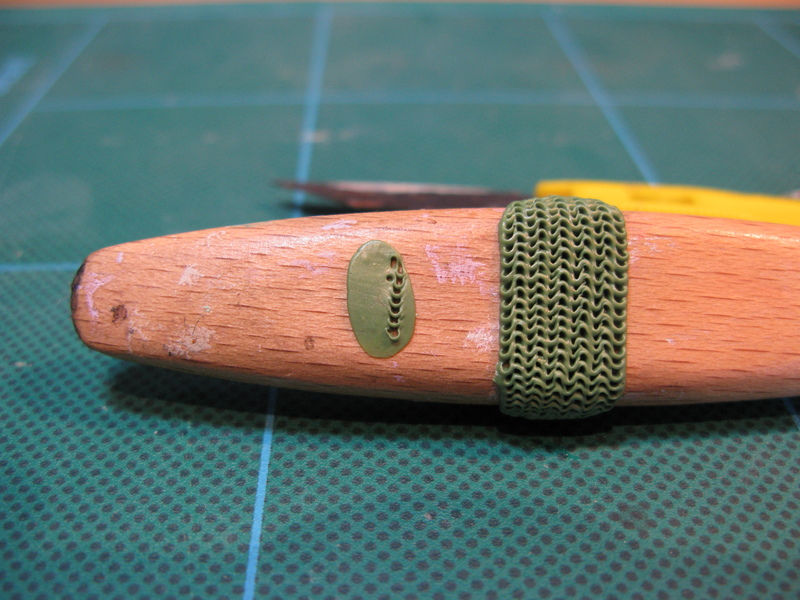
 And Again.
 Step#6
 And Again

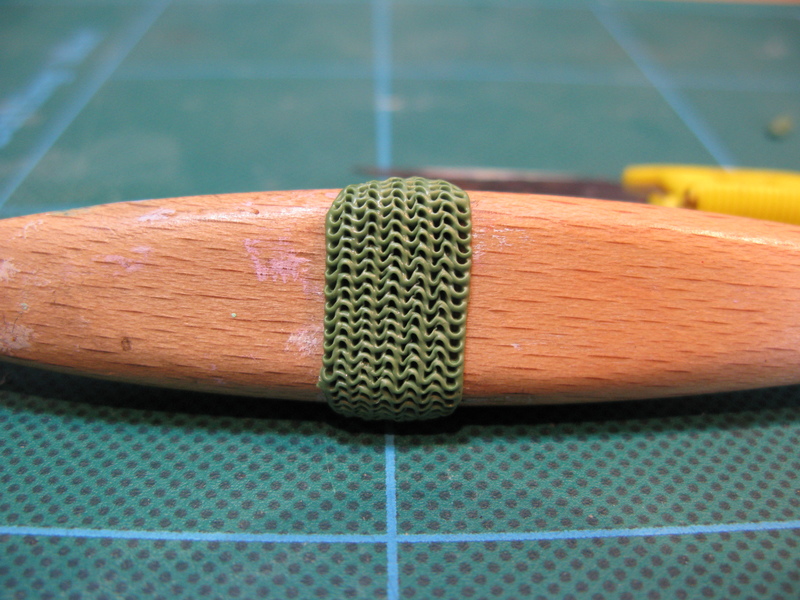
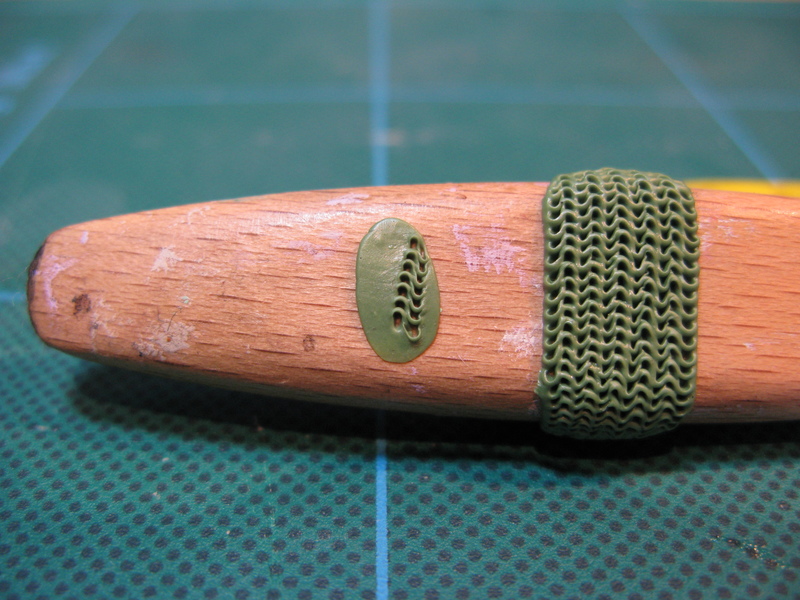
Like the Scale mail a couple of little errors won't matter too much on a rank and file trooper, it's the overall 'wavey' effect you're going for.
 Step#7
 MORE!
 Step#8
 Here's a little breakdown of the link-forming process - press tool in, push loop down.
 Step#9
 Looks like
 Step#10
 Make an indentation next to it
 Step#11
 Push this into the previous loop.
 Step#12
 Repeat
 Step#13
 Start the process on the opposite end.
 Step#14
 Same as before
 Step#15
 And all the way along.
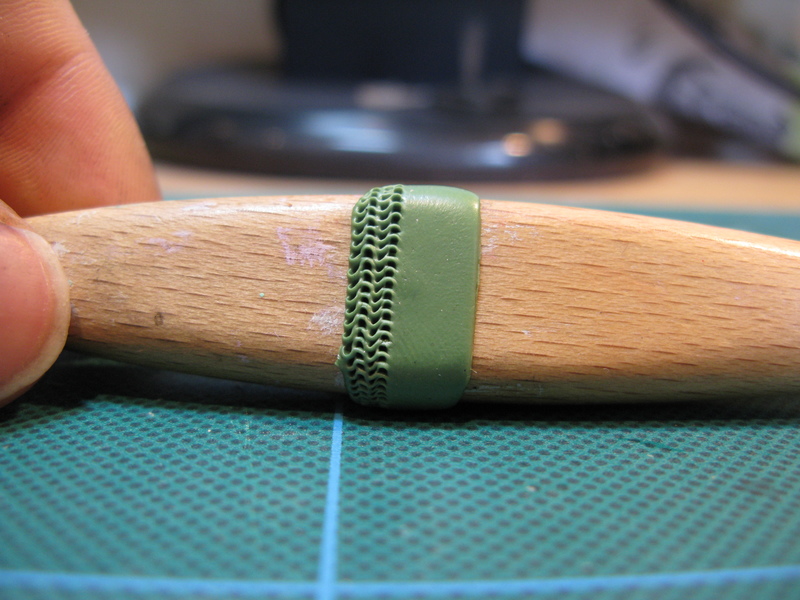
That's it!
Again as with most sculpting stuff you'll learn the most by playing around, size of tool, the distance you push the loops, how fresh the GS is (letting it 'cure' for 20 mins can make them look 'cleaner' in my experience, they stretch better.
If you discover anything cool or just want to post a picture of your efforts pop it down below, and as ever feel free to ask any questions regarding this, or any of the tutorials!
Byron
What our customers are saying...
Sign up for our newsletter - for the latest news and promotions